
The Beginner's Guide to Woodturning; Unleashing Creativity With Every Turn
Woodturning is a captivating craft that allows you to transform raw wood into beautiful and functional objects. Whether you're a complete novice or have some experience with woodworking, embarking on the journey of woodturning is an exciting endeavor. In this informative guide, we'll take you through a step-by-step process of getting started with woodturning, ensuring that you unleash your creativity with every turn.
Woodturning is an ancient craft, with evidence of it dating as far back as 300 B.C. A depiction of two men working together, one with a tool to shape the wood and another rotating the workpiece, was found in an ancient Egyptian tomb. However, the modern practice is, of course, a far cry from these practices, meaning that you don't have to woodturn like an Egyptian!
Our Step-by-Step Guide to Woodturning
Step 1:
Set up your workspace: Create a well-ventilated, organized area for your woodturning projects. Prioritize safety, lighting, and accessibility.
#WoodturningWorkspace
Step 2:
Acquire the necessary tools: Invest in quality woodturning tools and equipment, including a lathe, chisels, chuck, faceplate, and centers. Opt for reliable brands to ensure a smooth experience. Carbide woodturning tools are an easy way to get started and learn as these tools are slightly more forgiving than traditional tools.
#WoodturningTools
Here are some suggestions on woodturning tools from our shop:
6 Piece Robert Sorby Tools Set
Easywood Tools Mini Carbide Tool Set
Record Power 4 Piece Woodturing Starter Set
![]()
We would also recommend these lathes to start:
Record Power DML250 Lathe form Yandles

Step 3:
Select your wood: Begin with forgiving wood species like maple or birch. Choose dry, stable wood with a moisture content of 8-12% to avoid cracking. Experiment with different woods as you progress.
#WoodSelection
Step 4:
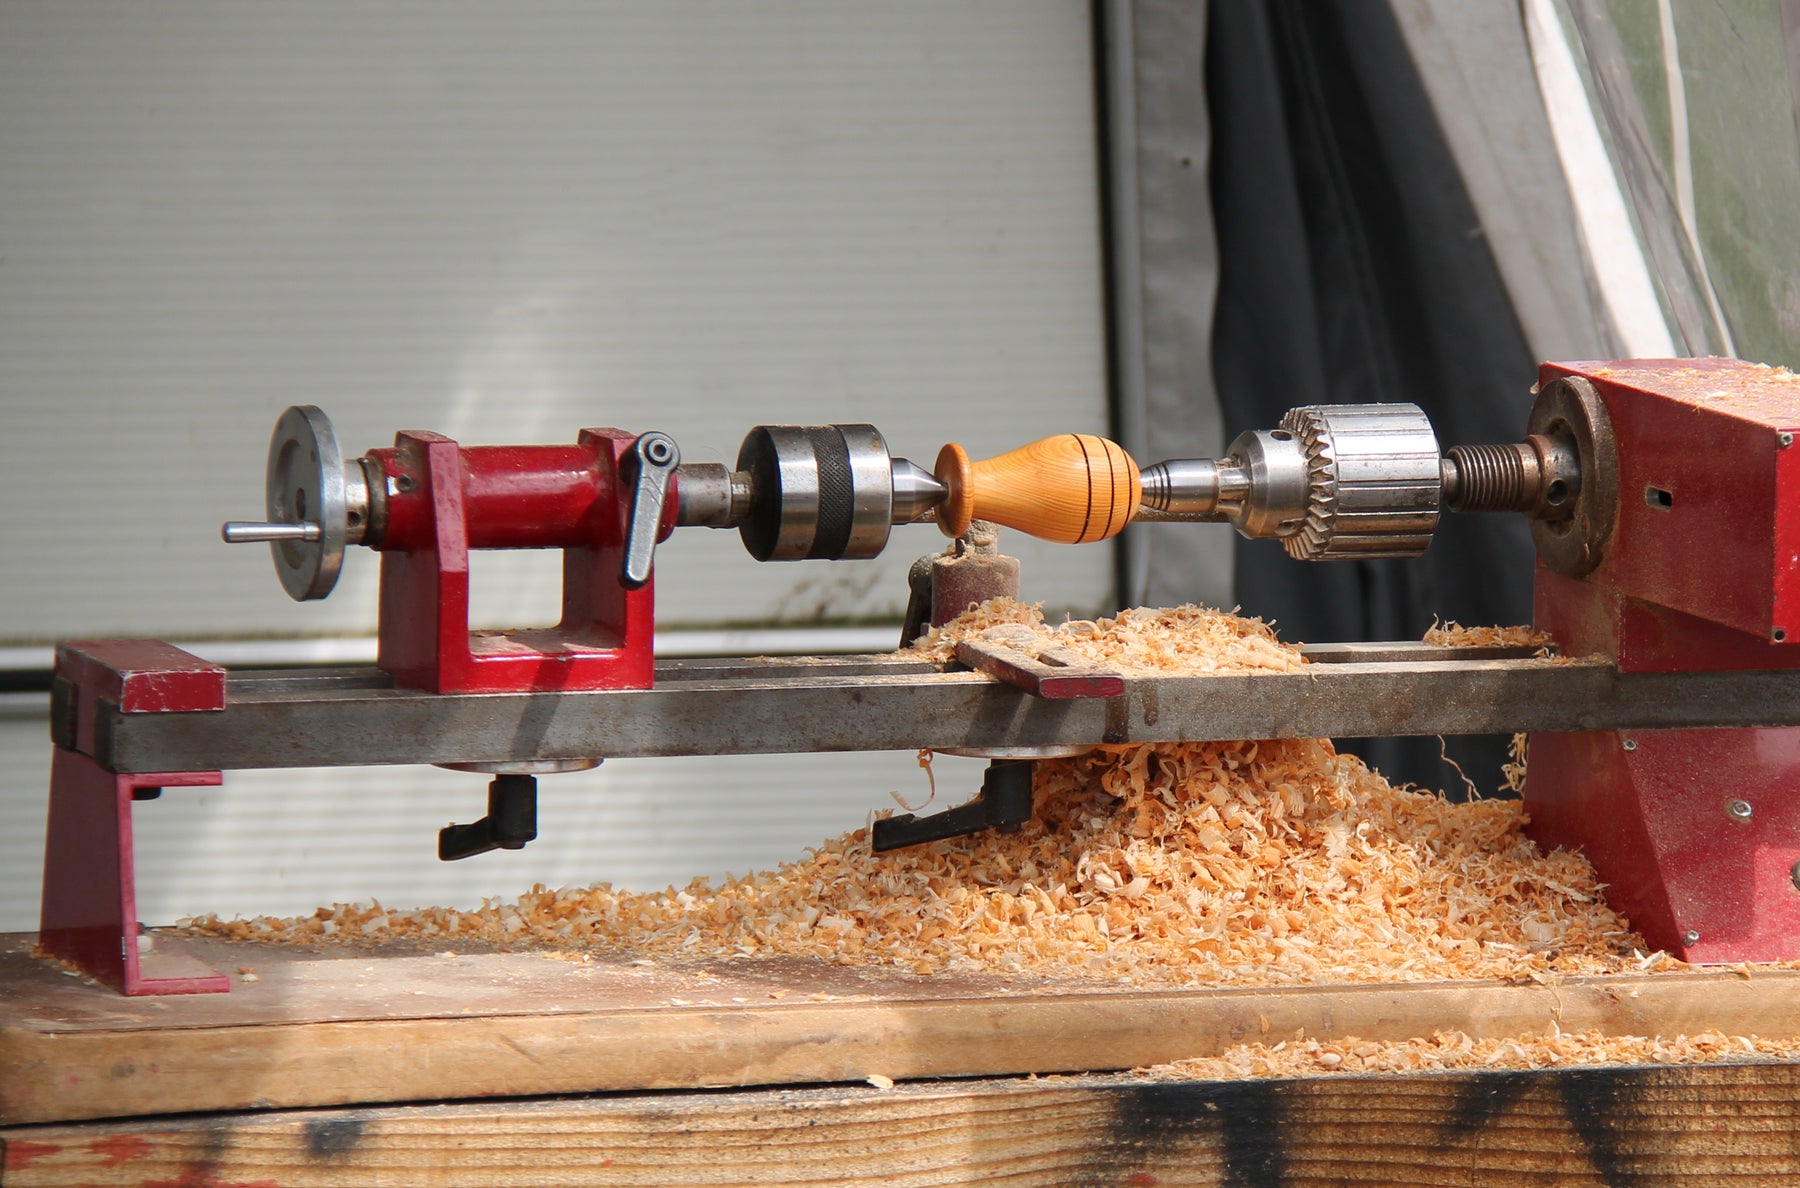
Prepare the wood: Roughly shape the wood using a bandsaw, if you have one, if not try to find a round blank to work with first. ensuring it is securely mounted on the lathe with a drive center and a faceplate. Proper wood preparation sets the foundation for your project.
#WoodPreparation
Step 5:
Master the basic cuts: Learn essential woodturning techniques, such as roughing, spindle, bowl, and skew cuts. Practice these techniques on scrap wood to hone your skills before tackling larger projects.
#WoodturningTechniques
Watch some videos here to learn what tools to use first and how best to use them:
Axminster - Beginners Guide to Woodturning Tools
Axminster - Beginners Top Tips

Step 6:
Begin turning: Start with simple projects like pens or small bowls. Follow a plan or design, focusing on technique refinement and building confidence. Gradually push your boundaries with each project.
#BeginnerWoodturningProjects
Step 7:
Sand and finish: Achieve a smooth surface by sanding your turned piece with progressively finer grits of sandpaper. We would recommend you start with 120 Grit then work your way up the grits to that perfect smooth finish you require. Always use a good sander sealer first, then add your polishes and waxes
#FinishingTouch
Here are some suggestions:
Chestnut Products Cellulose Sanding Sealer
Once you have added your sanding sealer, Yorkshire grit is a popular next product to apply. Try this and then add your polish after. Here is a few polishes you can use:
Step 8:
Evaluate and learn: Reflect on your finished project, identifying areas for improvement. Embrace mistakes as valuable learning opportunities. Seek feedback from experienced woodturners and online communities, like the HowTo App.
#ContinuousImprovement
Step 9:
Expand your horizons: As your skills grow, take on more complex projects like vases or intricate bowls. Explore different woods, shapes, and techniques to expand your repertoire and ignite your imagination. Some like to add in resin to make the piece more interesting.
#WoodturningInspiration
If you fancy adding in some resin you can find some recommendations here: -
To Summarise
Woodturning is a fulfilling and creative craft that allows you to unleash your artistic spirit. With this comprehensive beginner's guide, you're equipped with the knowledge and steps necessary to embark on your woodturning journey.
Remember to prioritize safety, practice patience, and embrace the learning process. With dedication and passion, you'll transform raw wood into stunning works of art. Embrace the art of woodturning and let your creativity shine!
Remember if you’re a Member of HowTo you get some exclusive discounts off all these products listed above, including the products from Yandle’s and Record Power!